Fairy of the Spring Bloom Walkthrough Page 4

9. Shading the Branches

*Please Note that the pictures below are a lot darker than the painting really is. See the finished painting for true values.

First, I use a dark brown Prismacolor pencil and fill in the branch. I keep the pencil very sharp so that I can better color around the blossoms and get down into the grain of the paper. I shade so that the darker areas are at the top and bottom.

Then I use indigo to darken the branch further on the top and bottom edges.

I color over this with dark umber. Mixing indigo and brown makes a very dark, almost black color.

This picture is really dark, but the next step was to color the center with light umber.

Finally, I use a white colored pencil to make the center lighter, and also used indigo once again along the shadowed areas.

I used colored pencils for the branches because I wanted to make it match the winter painting that I did in 2005. With cold press watercolor paper you can get a texture for the wood with out even really trying.

10. The Hair

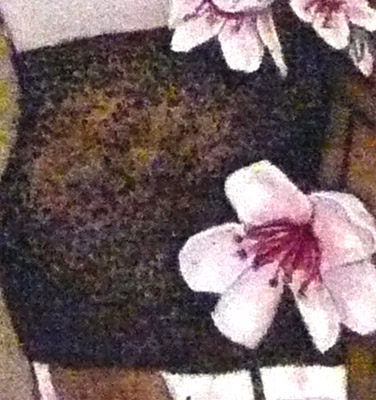
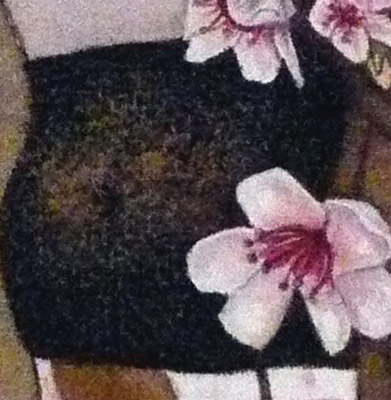
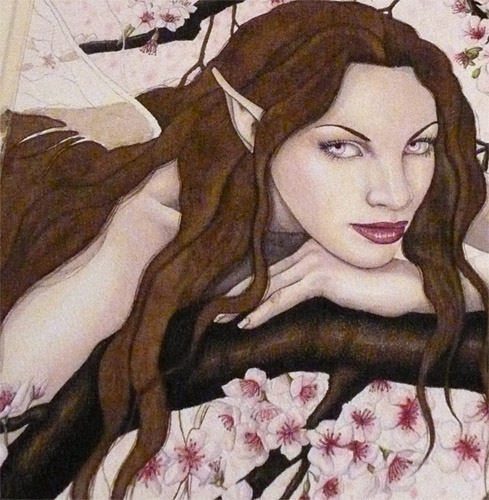
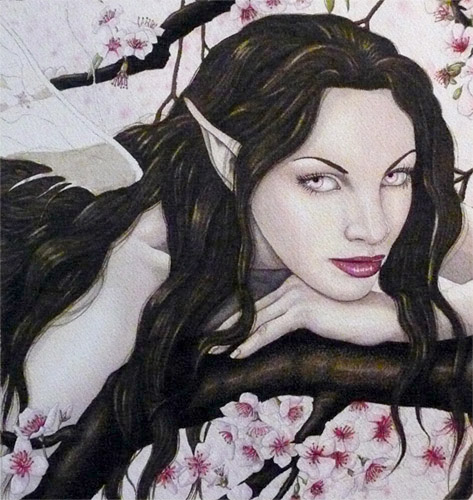
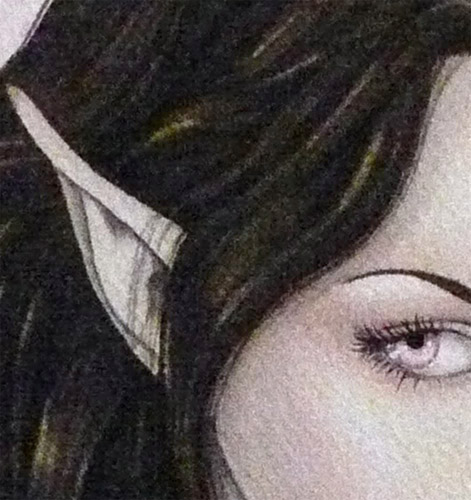
I decided to darken her hair up some more, so I went over it again with burnt umber.


I used a small liner brush to paint in some stray strands of hair around the face and edges of the hair. This makes it look more real.


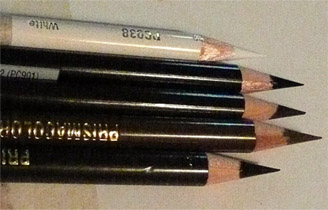
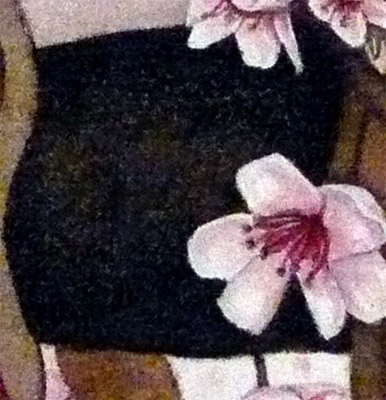
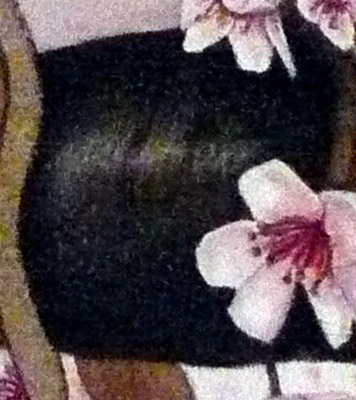
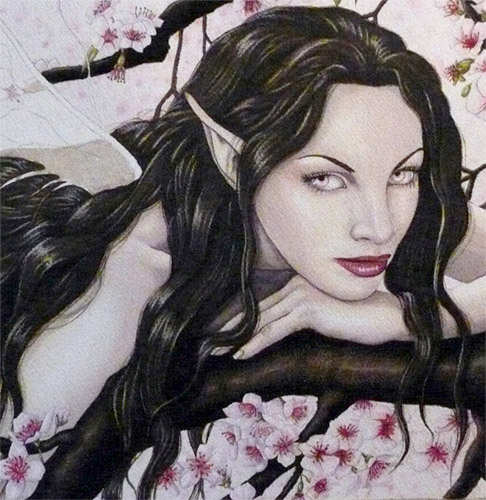
I had a picture of the step between the last one and this one, but it was too dark to even bother showing. I mixed burnt umber and ultramarine blue together, giving me a very dark brown (just like I did with the indigo and dark umber colored pencils on the branches), and I painted in the separate strands of her hair. I started out using a #2 size round brush with a pointed tip and then used a smaller liner brush for even smaller detail.

After detailing all the the hair, I used a small brush to lift some of the color away, for highlights. You can see this in the 2nd picture. Then, I used a white colored pencil you draw in some even brighter highlights.

11. The Wings

I begin by applying a light wash of alizarin crimson in between the veins of the wing. Everything that is visible through the wing was painted in light washes earlier.


I use a more concentrated alizarin crimson to paint along the top of the wings and the veins. I shade this areas with ultramarine blue for depth.

Finally, I used white gouache to redefine the bottom edge of the wing and to add highlights to the top.

Last of all, I use a fine brush to paint in light, distant branches with burnt umber.

Then I remove all the tape and I’m done!!