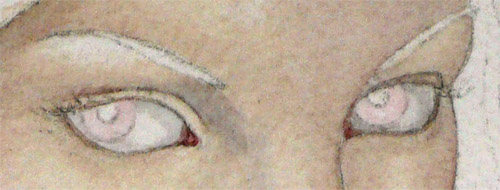
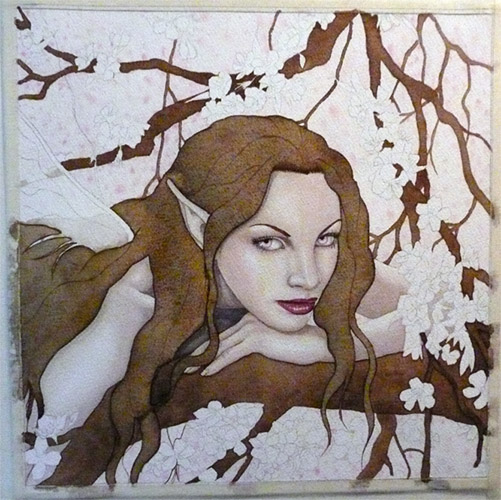
I begin by defining the eyes, once again using my mixture of burnt sienna/ultramarine blue, using greater amounts of blue for the darker areas. I use that same mixture with a little alizarin crimson for the inner corners of the eyes. For the whites of the eyes, I use a very diluted 50/50 mix of bt. sienna and ultramarine blue and that gives you a soft gray.
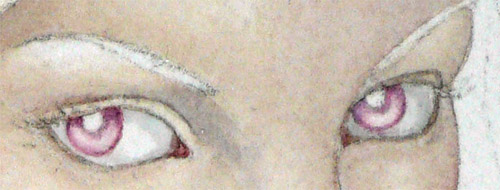
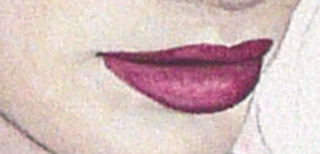
Next, I add a light wash of alizarin crimson for a soft pink.
Then I use alizarin crimson mixed with a little ultramarine blue to deepen and define the irises some more.
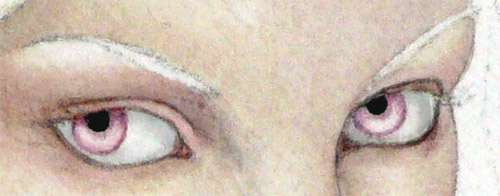
I then added a light wash of alizarin crimson around the eyes to give a light pink eye shadow. And filled in the pupils with black. I mixed my own black using Indigo, yellow ochre and Perylene Maroon.
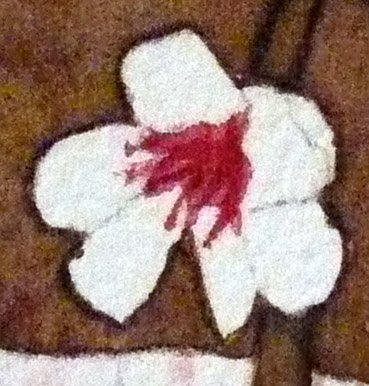
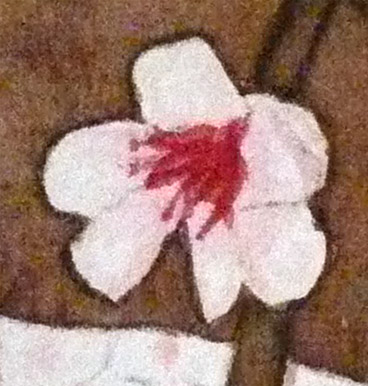
I begin by filling in the center of the blossom with alizarin crimson.
Next, I lightly shade some of the petals with alizarin crimson.
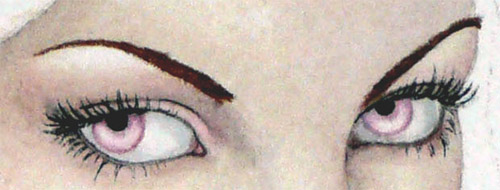
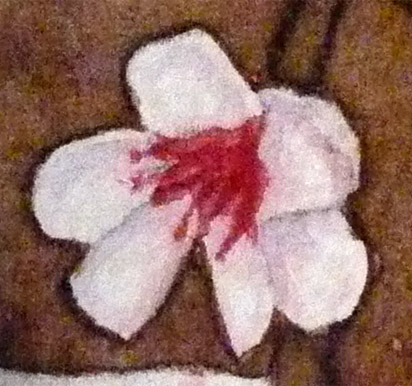
Then I use ultramarine blue to add some light shadowing.
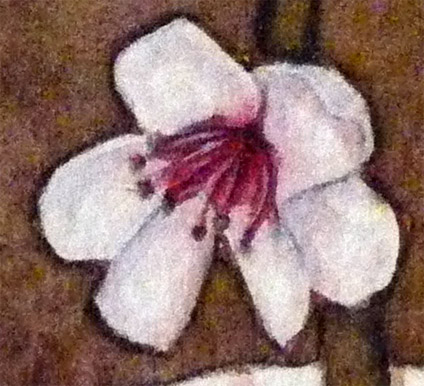
Here, I have used more blue to define the individual petals and the center of the blossom. I also added a touch of sap green to the center and then some highlights with white goauche