Watercolor/Mixed Media
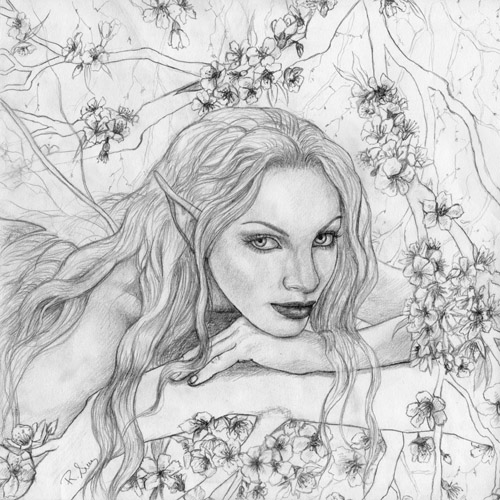
This tutorial shows the process it took to create my painting, Fairy of the Spring Bloom. I’ve been asked for tutorials on hair and skin, and this covers everything. I’m am not say that any of the following is the “right” or only way to do anything, they are just my methods, and maybe others may find it helpful to incorperate some of it into their own working style.
Media Used:
- Arches cold press Watercolor Paper
- Watercolors (burnt sienna, burnt umber, ultramarine blue, yellow ochre, alizarin crimson, black, sap green, raw umber)
- White Gouache
- Graphite Paper or some other transfer method
- Colored pencils (Prismacolor-dark brown, dark umber, light umber, indigo, white)
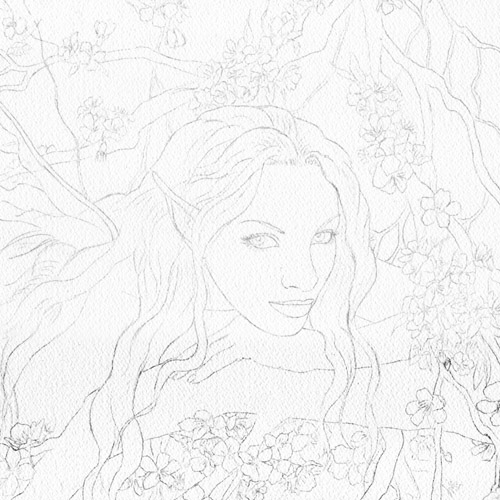
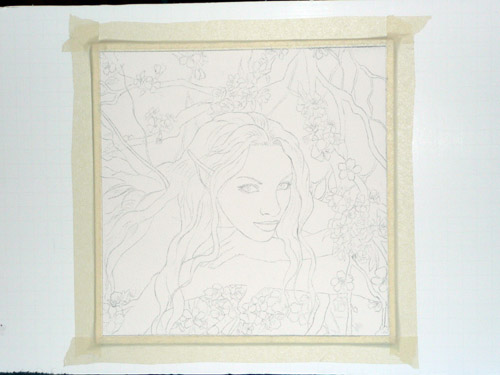
1. The Sketch and Transfer
These 2 steps don’t require too much explaination. I have skeched out my Spring fairy on a piece of sketch paper. My sketches are fairly detailed so that I can get a better idea of how the final painting will look. I then cut my cold press watercolor to 10.5 x 10.5” This allows for a 1/4” white border on each side to tape it down. So the actual size for the painted area is 10 x 10” I actually use hot press watercolor paper more often lately, but since the first in this series of seasons was done on cold press, I wanted this one to be too. Though I do like the texture that cold press paper has for portraits. More detailed work tends to be easer on the completely smooth surface of hot pressed paper. Next, I transfered the sketch onto the watercolor paper using graphite paper. You tape the graphite paper between the sketch and the watercolor paper and trace over the main outlines of the sketch. This is my preferred method of transferring my sketches, but you can use whatever method you like. You can even sketch right on the paper. I just like to keep my sketching for separate paper because I erase and shade a lot when I sketch.